How to Remove Stickers from Vintage Paperback Covers
The safest way to effectively remove stickers from vintage paperback covers.
PAPERBACK RESTORATION
William Gould
1/9/20263 min read
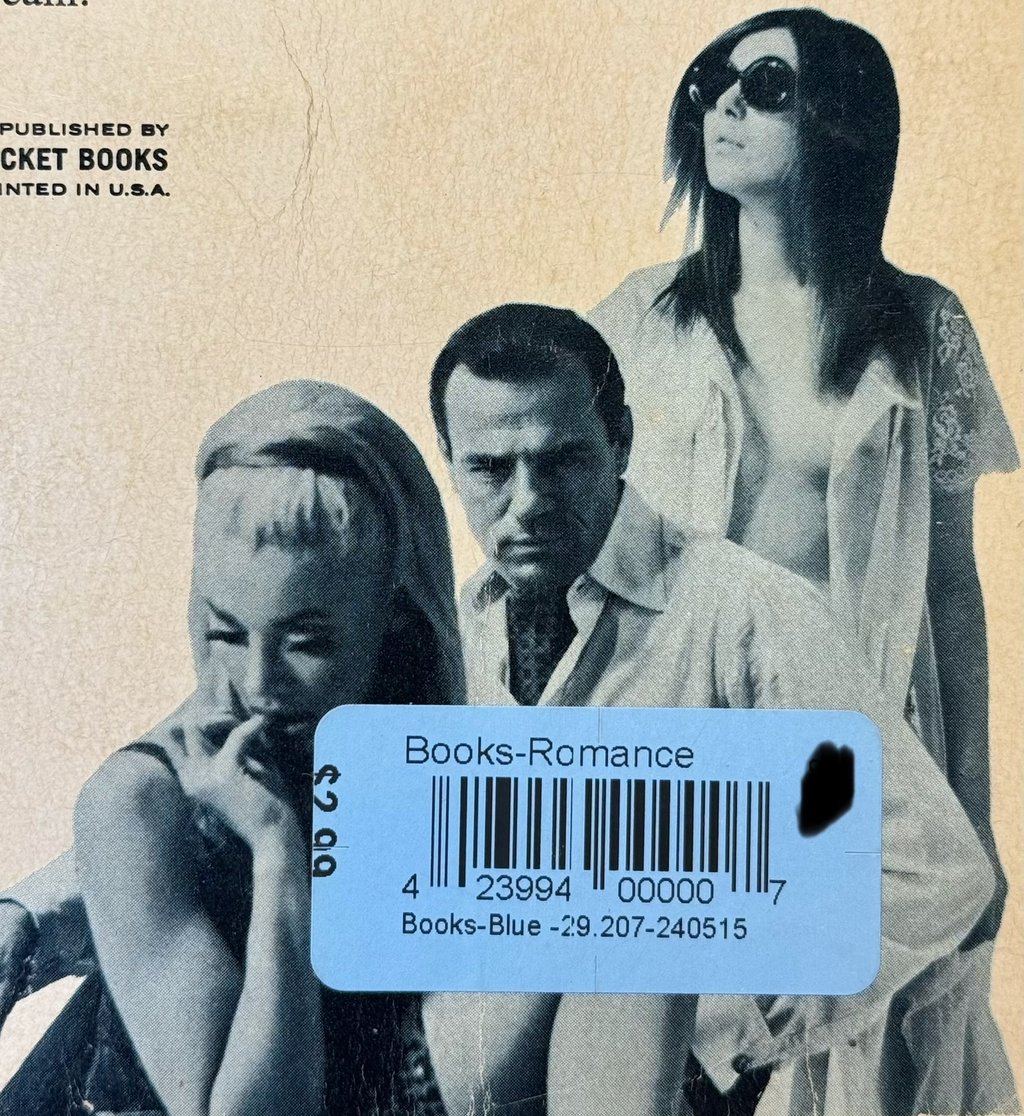
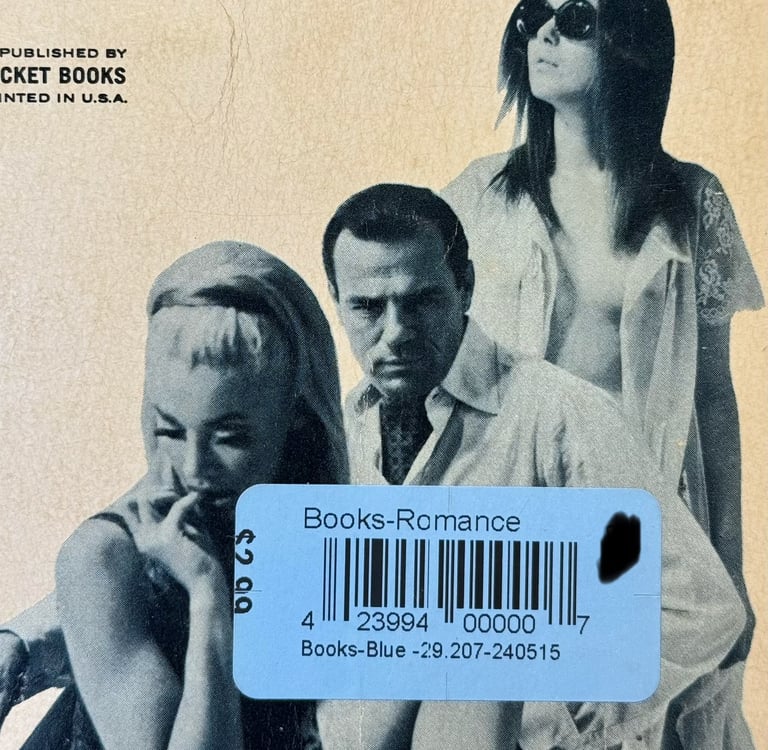
You walk into a thrift store and uncover a 1950s Gold Medal paperback that's been hiding amongst a stack of untouched E.L. James novels. The cover art is a masterpiece, but right across the center, some mook slapped a neon price tag.
If Dante were writing his Inferno today, he would add a tenth circle just for the people who put adhesive stickers on vintage paperbacks.
But we aren't here to judge. We’re here to fix it.
The problem with some of these stickers, especially certain thrift store stickers that have been stuck on that beautiful cover for years, is you can’t just muscle these things off. And you certainly can't reach for the chemicals. Here is the protocol that actually works.
The Warning: Put the Bottle Down
Do not use anything liquid on vintage paperback covers! Depending on the cover, you may get away with it once or twice, but eventually, it will ruin a cover. Vintage paperback covers are porous. If you apply a liquid solvent like Goo Gone or lighter fluid, the paper fibers act like a wick. The liquid gets pulled deep into the cover, creating permanent oil stains or "tide lines."
Even the old paperbacks that have protective coatings (e.g., early Pocket Books with Perma-Gloss coverings) should not be exposed to liquids; the liquids/chemicals can damage the already compromised adhesives attaching those coatings, causing them to lift or bubble.
Worse yet, the solvents designed to dissolve glue often dissolve vintage ink. You might get the sticker off, but you risk taking the cover art’s color with it. Do it enough and I guarantee you will ruin a cover. Keep it dry to keep it safe.
The Protocol: Heat, Peel, Erase
Since we can't use chemistry, we use physics.
1. The Heat (Loosen the Bond) You need to attack the adhesive's grip. Take a hair dryer and set it to medium. I like to live dangerously (and have a lot of experience) so I use a heat gun on low. Hold it about six inches from the cover and move it back and forth over the sticker until it's warm, but stop before it's hot to the touch. You aren't trying to cook it; you just want to progressively warm the glue to make it tacky and pliable.
2. The Lift (Mechanical Separation) Once the sticker is warm, use a plastic scraper or a dull blade (something flat and wide) to gently lift the edge. Do not use your fingernails; they are too thick and too sharp and risk denting the cover or tearing the paper. Peel slowly at a sharp angle. If you feel resistance, apply more heat. Do not force it. If the paper starts to lift with the sticker, stop immediately and reheat.
3. The Cleanup (The Dry Erase Method) After the sticker is gone, you’re often left with a sticky, grey residue. This is where the magic happens.
The Tool: Use a Hi-Polymer eraser (the white block kind).
The Mechanics: The hi-polymer material is designed to grab onto the tacky residue rather than the paper. As you rub, the friction generates a little heat and the eraser crumbs bind to the glue, rolling it up into harmless little balls that lift right off the surface.
The Technique: Patience is your only currency here. Use small, tight circular motions. Don't scrub back and forth like you're washing a car. It may take a little work, but this will separate the glue from the cover.
The Danger Zone: Be extremely careful when you get near the edges or the corners of the cover. If you rub inward too hard, you can buckle the edge and crease the cover. Always rub outward toward the edge, and hold the edge down firmly with your other hand to support it.
A Note on Really Old Stickers: If a sticker has been on a book longer than you've been alive, contemplate whether you really want to remove it. I occasionally acquire paperbacks that have the small, rectangular stickers from a drugstore rack in the 1970s. I consider these part of the books history and typically leave them. These old stickers can usually be removed, but the adhesive has likely chemically altered the paper over fifty years, meaning they will leave a stain and discoloration on the cover. Your choice.
The Verdict
When you’re done, brush away the eraser crumbs. The cover should be smooth, dry, and free of the neon mark of the beast. Treat the book right, and it stays a collector's item. Treat it wrong, and it’s just another piece of evidence.